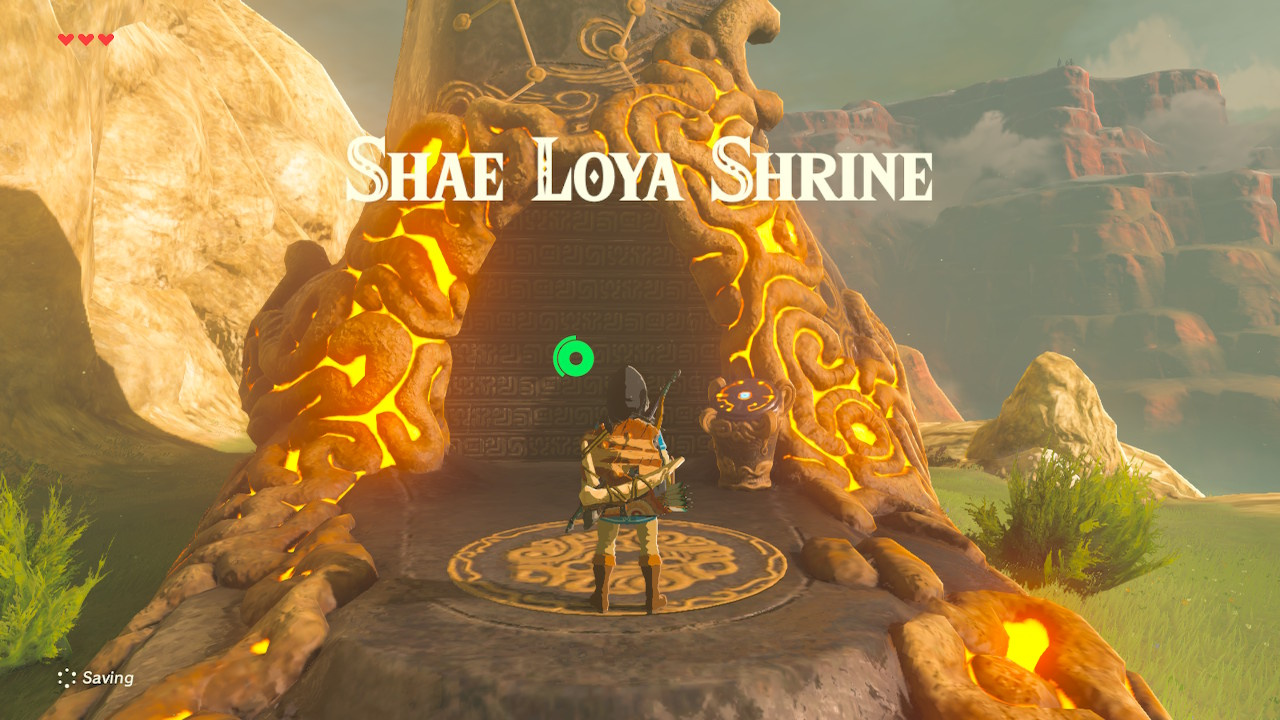
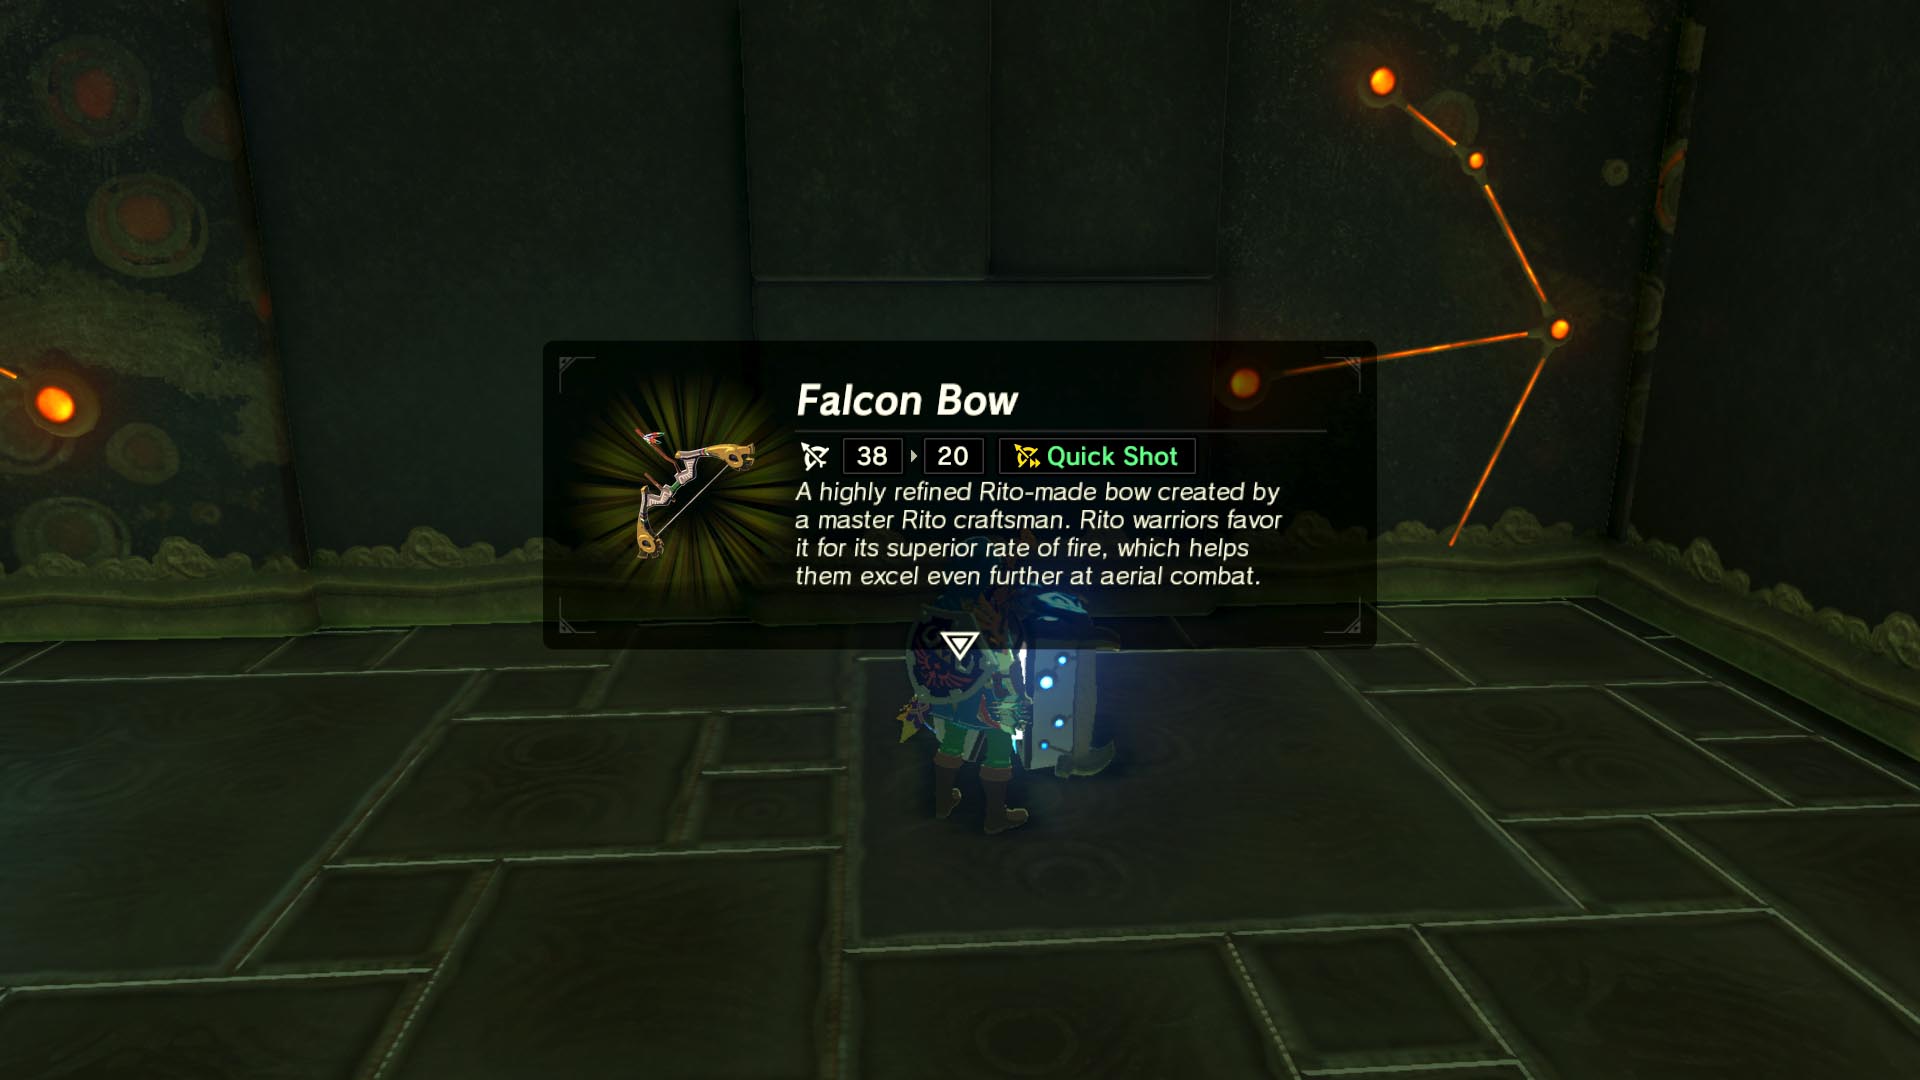
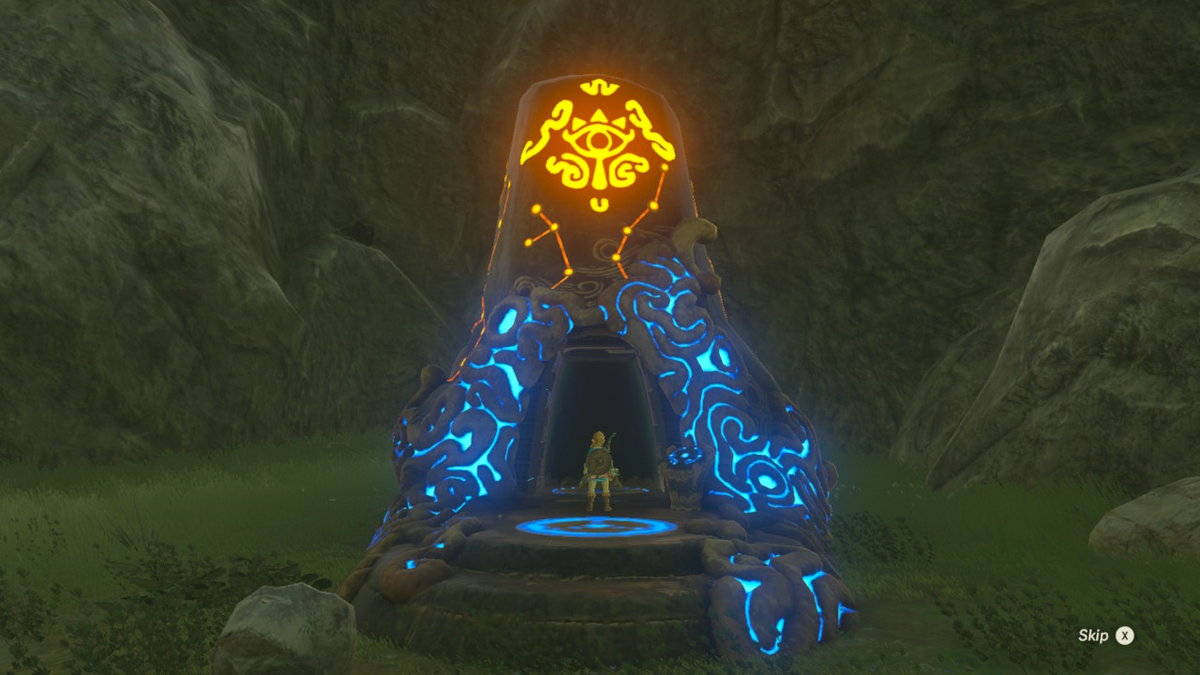
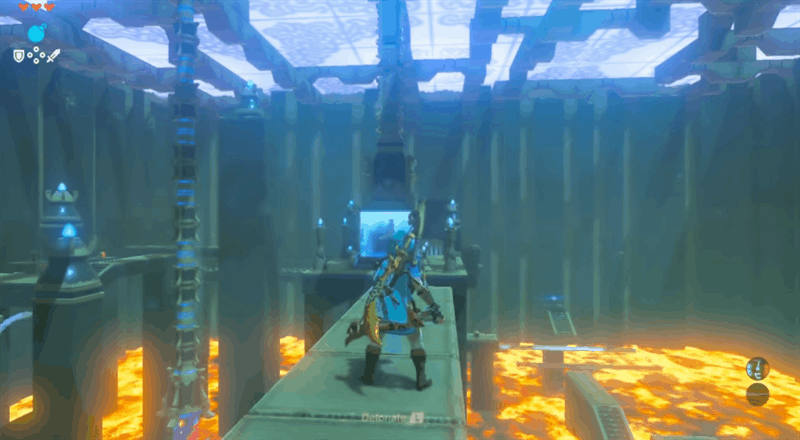
Zelda: Breath Of The Wild: Shae Loya Shrine Solution
Por um escritor misterioso
Last updated 09 abril 2025
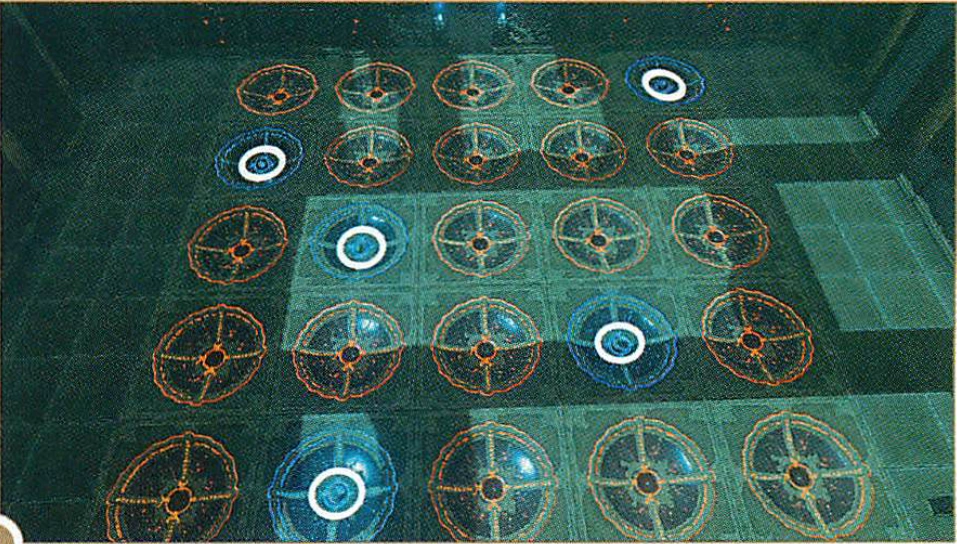
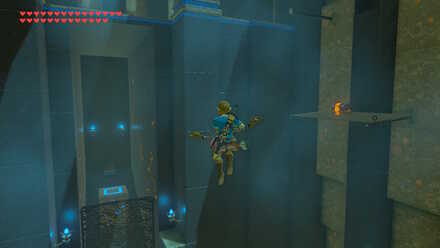
Stock up on arrows and manipulate time to solve this shrine
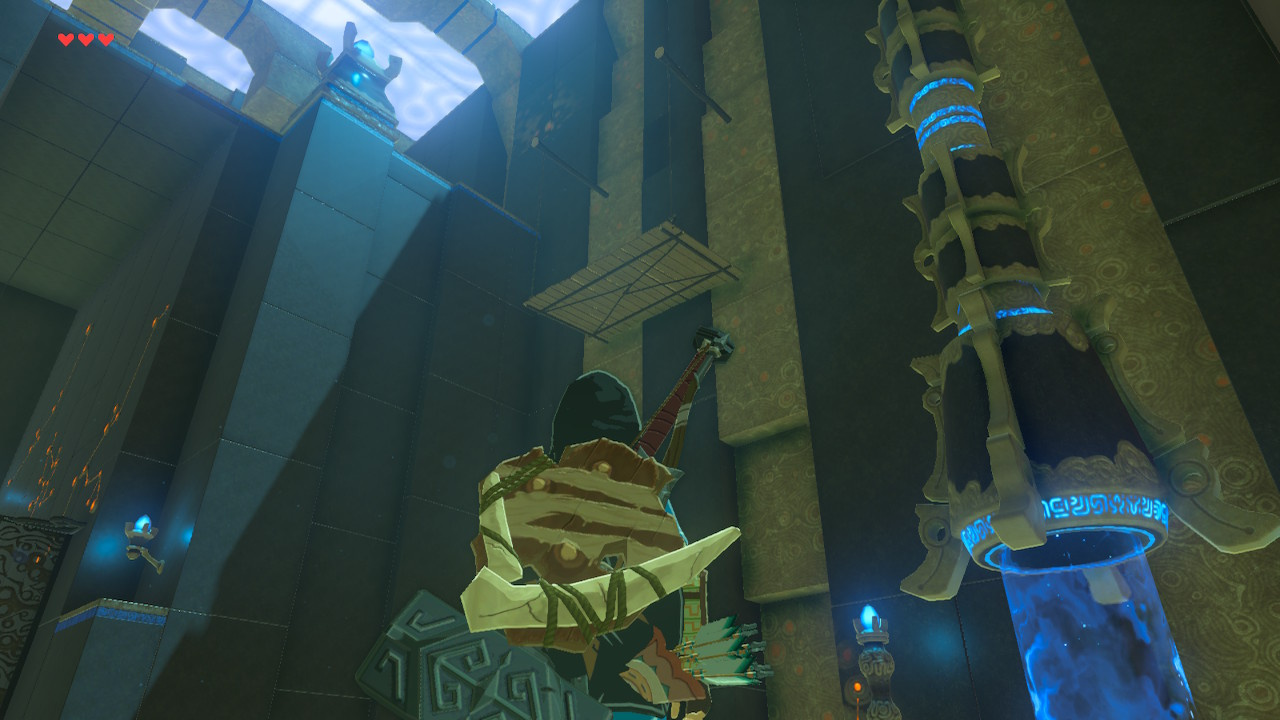
Zelda: Breath Of The Wild: Shae Loya Shrine Solution
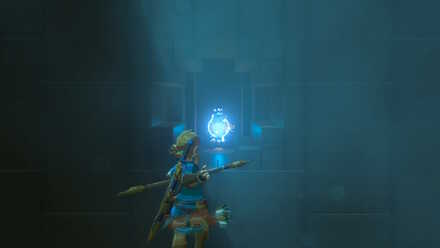
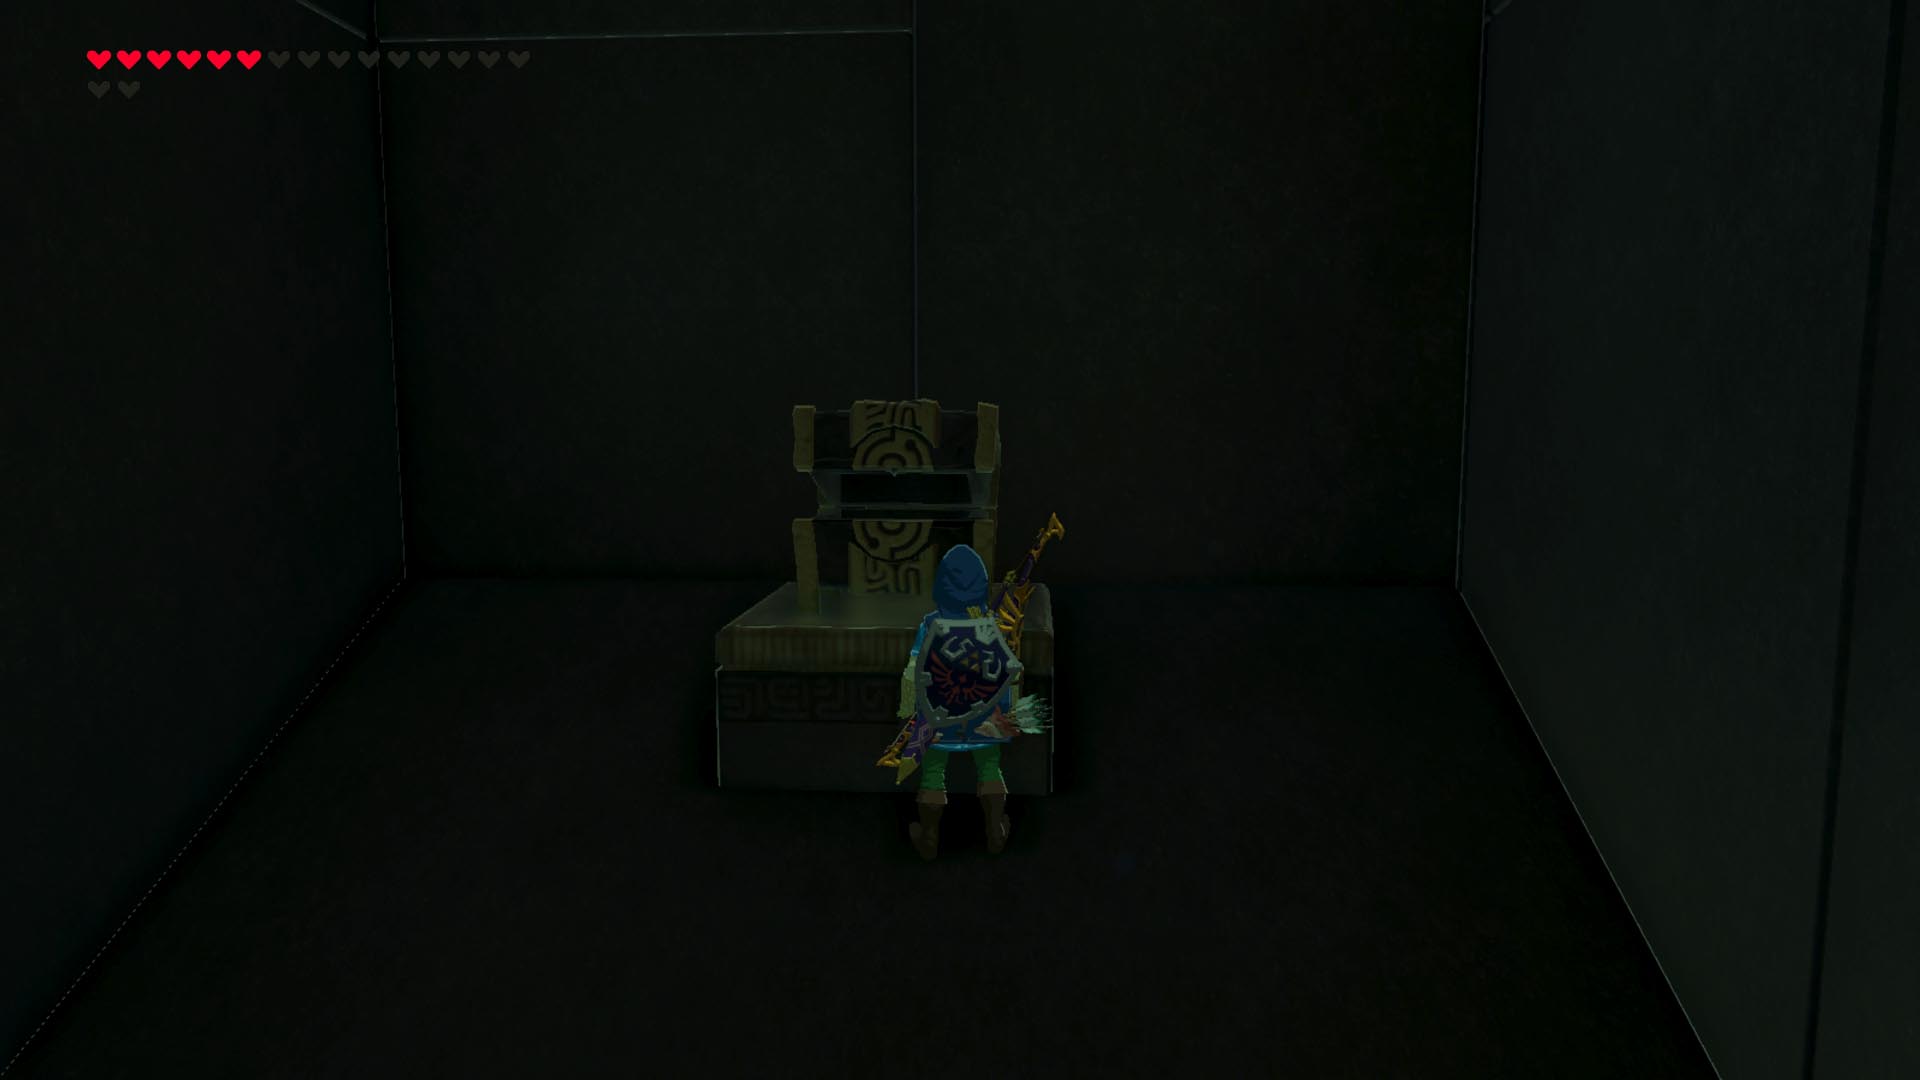
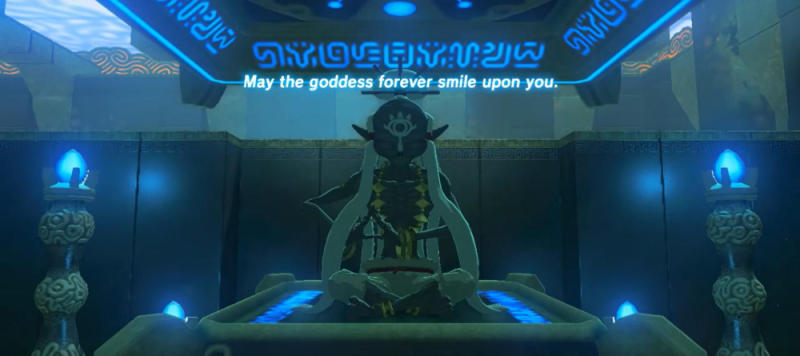
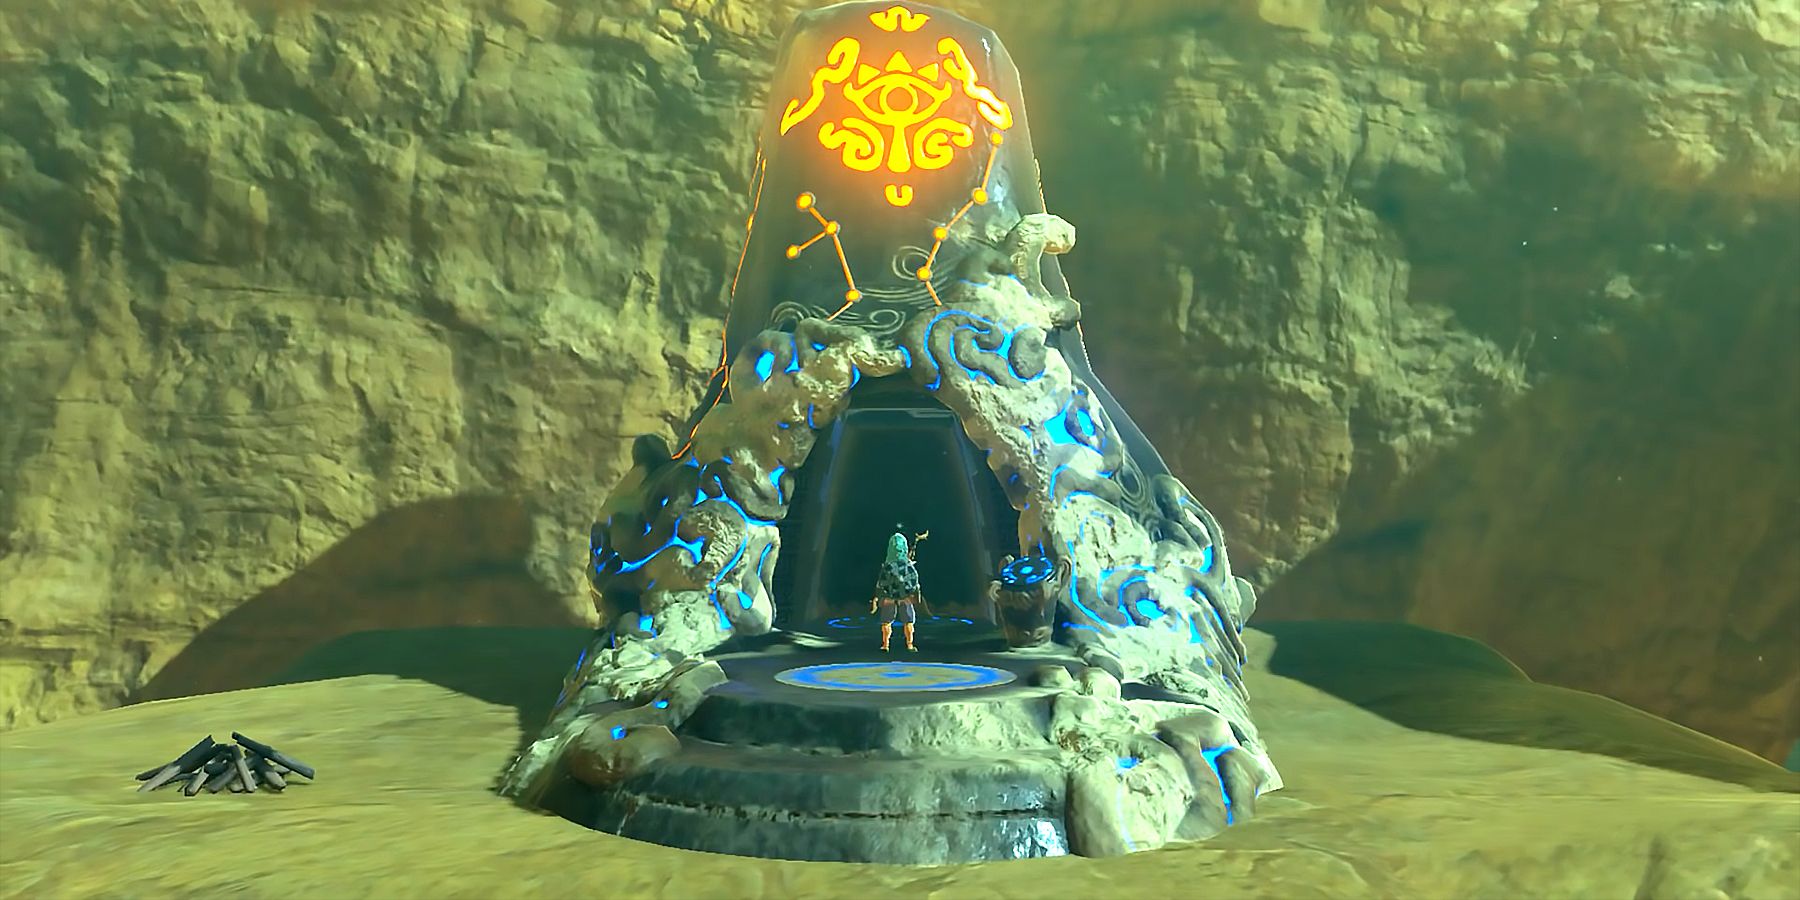
Shae Loya Shrine Walkthrough: Location and Puzzle Solution
Shae Loya shrine solution BOTW guide - Polygon

Shai Utoh Shrine Solution - Breath of the Wild
Zelda: Breath Of The Wild: Shae Loya Shrine Solution
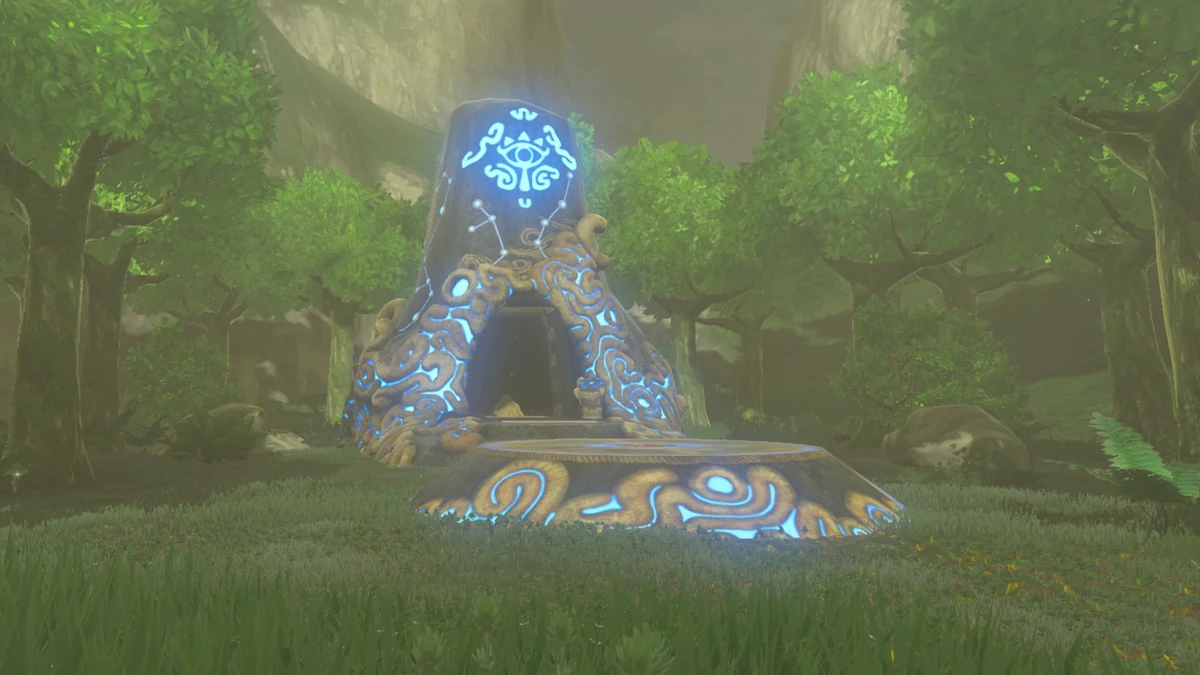
Shee Vaneer Shrine - Zelda Wiki
Shae Loya Shrine Walkthrough: Location and Puzzle Solution

Shae Loya Shrine Solution - Breath of the Wild

Shae Loya Shrine Guide - Zelda Dungeon

Zelda - Mogg Latan and the Synched Swing trial solution in Breath of the Wild
Shae Loya shrine solution BOTW guide - Polygon

Zelda: Breath Of The Wild: Shae Loya Shrine Solution
Recomendado para você
-
 What are the Shrine Mummies in Zelda: Breath of the Wild? - Japan Powered09 abril 2025
 -
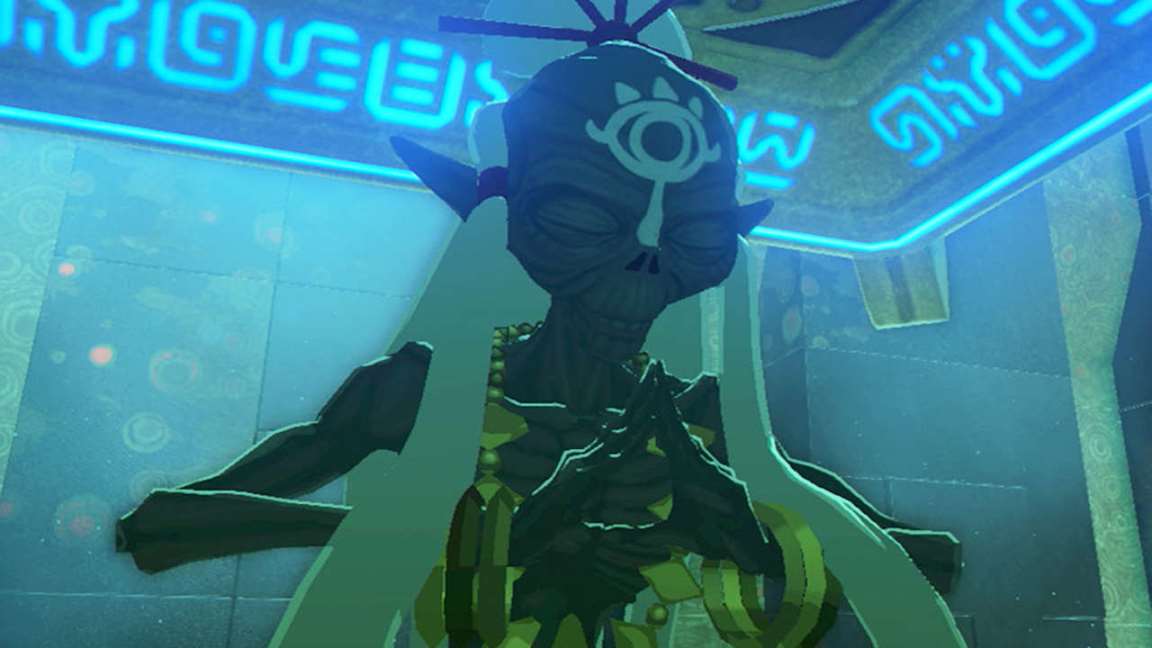
 The Cursed Statue - Zelda Wiki09 abril 2025
 -
/cdn.vox-cdn.com/uploads/chorus_image/image/53843551/Jitan_Sa_mi_shrine_33.0.jpg) Jitan Sa'mi shrine walkthrough in Zelda Breath of the Wild - Polygon09 abril 2025
Jitan Sa'mi shrine walkthrough in Zelda Breath of the Wild - Polygon09 abril 2025 -
 I'm at 119 Shrines, it looks like I have all of them. I have even checked every nook and cranny, and still can't find the last shrine. : r/Breath_of_the_Wild09 abril 2025
 -
 Category:Shrine Quests - Zelda Wiki09 abril 2025
 -
 Zelda: Breath of the Wild's initial Shrines have a secret message09 abril 2025
 -
 Zelda Players Have Found Wild Ways To Break Breath Of The Wild's Shrines09 abril 2025
 -
 How To Complete Dako Tah Shrine in Breath of the Wild09 abril 2025
 -
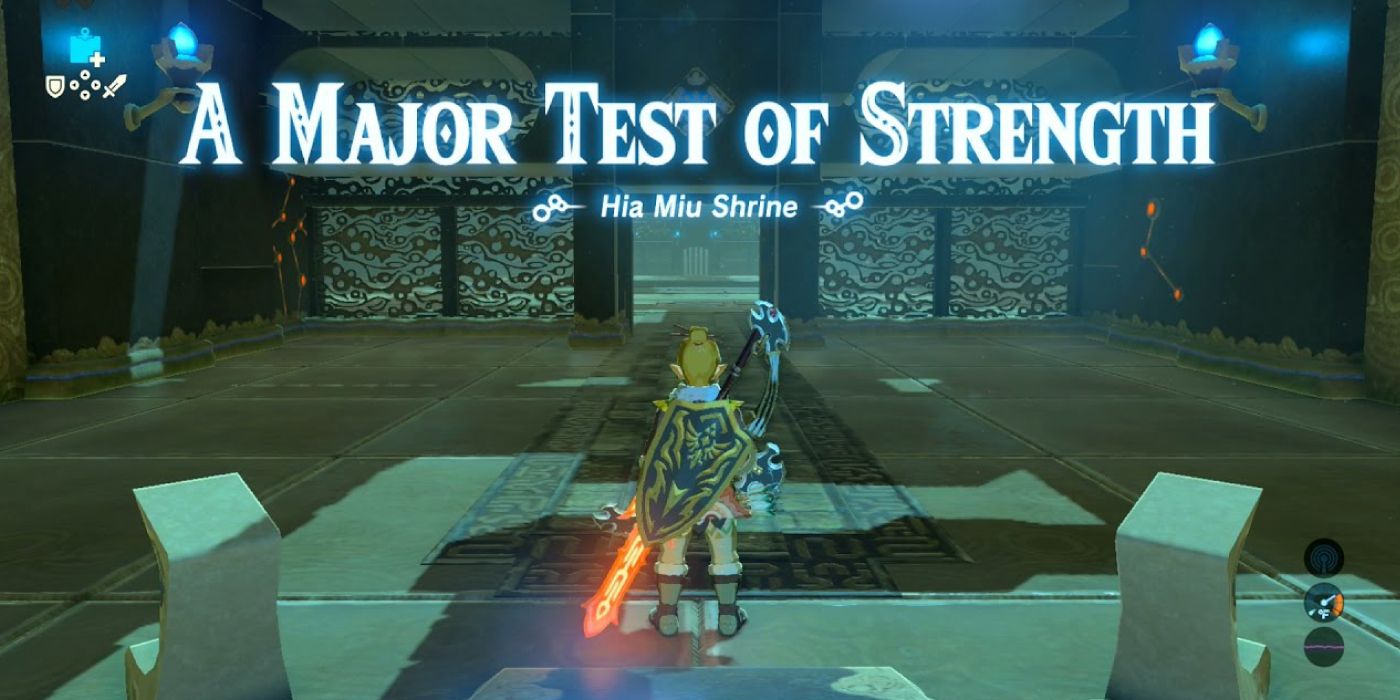 The Hardest Shrines In Breath Of The Wild09 abril 2025
 -
 Tawa Jinn Shrine - The Legend of Zelda: Breath of the Wild Guide - IGN09 abril 2025
você pode gostar
-
 Steam Deck now available for outright purchase, no reservation required09 abril 2025
 -
Família Chaulet09 abril 2025
-
 Aitai☆Kuji Haikyuu!! Week KOTOWARI ONLINE SHOP Postcard09 abril 2025
 -
 Ngl, i expected this game to be longer (Bayonetta 2 on Skyline09 abril 2025
 -
 Workshop de Tatuagens New School com o Ink Master Jesse Smith com Tradução Simultânea em São Paulo! - Blog Tattoo2me09 abril 2025
 -
 Wccftech on X: Controversy erupts as Christopher Judge takes a swing at Call of Duty's campaign duration at TGA 2023. Call of Duty devs hit back. 🎮🔥 / X09 abril 2025
 -
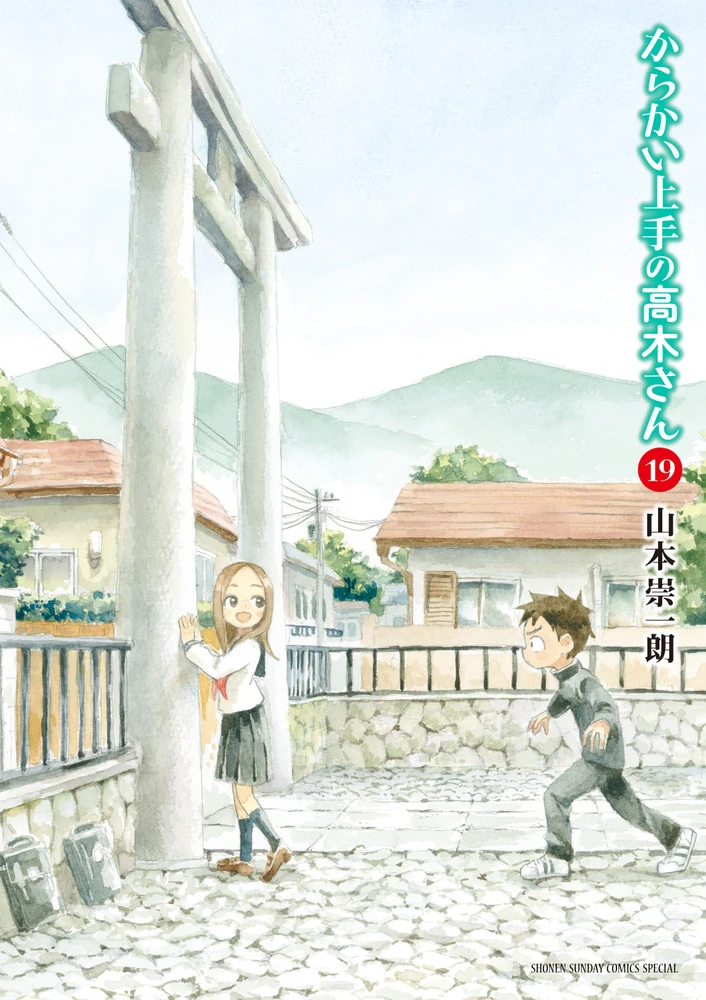 Volume 19, Karakai Jōzu no Takagi-san Wiki09 abril 2025
 -
 Major 2nd and Being a “Second” – Beneath the Tangles09 abril 2025
 -
 9 de maio de 2024, Partida do revezamento da tocha olímpica em Marselha, Jogos Olímpicos de Paris 2024, Porto Velho de Marselha09 abril 2025
 -
 DC Entertainment Announces 'Wonder Woman '77' Digital Comic – The09 abril 2025
